
Revolution Idle Zodiac Loadout: Builds for Each Stage
Choose your Revolution Idle zodiac loadout for Unity, Attacks, quality farming, and Elements. Get planet placements and know when to switch between builds.
Jump to
Your Revolution Idle zodiac loadout can speed up Unity runs, push Attack levels, or improve the Zodiacs you earn next. Those goals need different planet assignments because each Zodiac contributes its own stats and a seasonal planet bonus. Start with the build for your current bottleneck, then switch when you move from farming equipment to pushing progression.
Early Unity and Trial Loadout
During early Unity progression, prioritize Aries with Mult Gain, then add Sagittarius for Ascension Power and Slowdown Power. Check the actual bonuses before equipping a Zodiac: having the right sign does not guarantee every potential stat appears.
Build around these priorities:
- Early progression and easy trials: Equip multiple Aries with strong Mult Gain bonuses.
- Ascension and slowdown support: Keep Sagittarius with the relevant bonuses available.
- Medium trials: Add Aquarius with reduced Supernova requirements and free Lab levels.
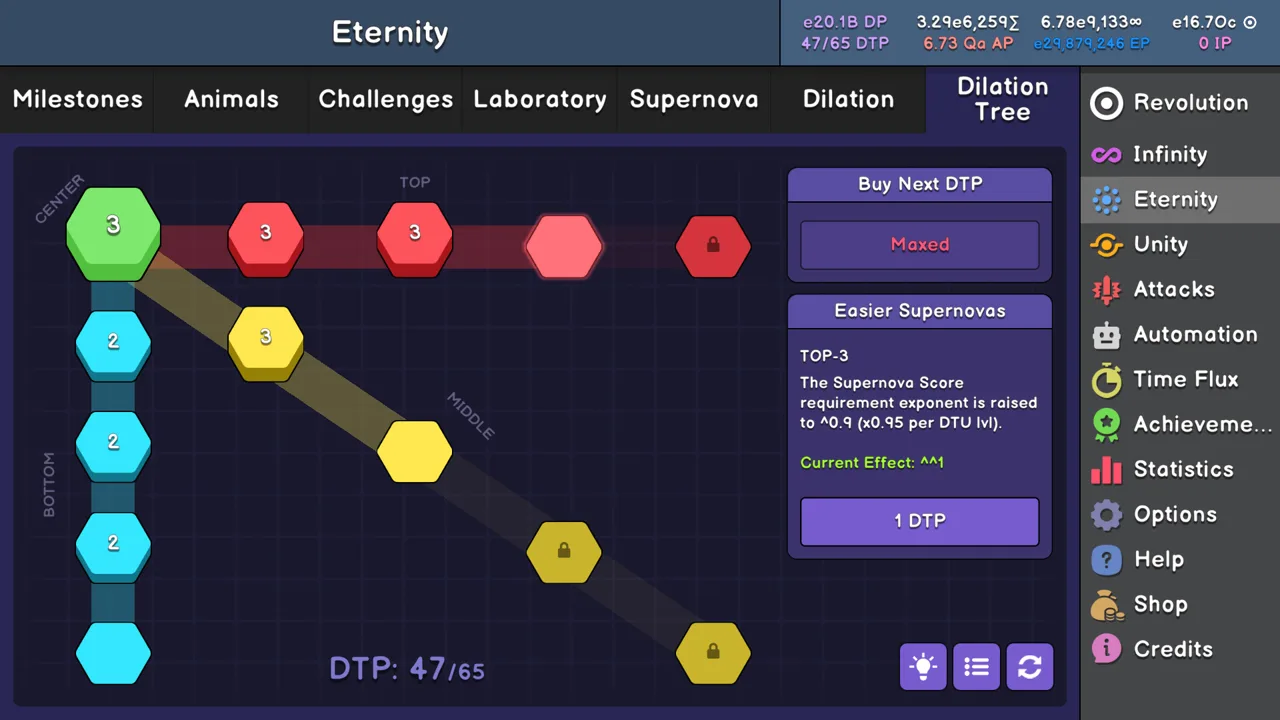
- Dilation progression: Shift toward Dilation Point gain bonuses and seasonal DP multipliers.
Aries can remain useful after the opening stretch, especially when rebuilding through the earlier layers of a Unity run. Replace individual pieces as your bottleneck changes rather than discarding the entire Fire setup immediately.
Match the Zodiac’s season to its planet
A Zodiac’s element determines its potential stat pool. Its season determines the additional bonus granted by the planet holding it.
For the first six planets, target these combinations when they support your run:
- Sun: Autumn grants Unity Rewards ^1.1; Winter grants Eternity Rewards ^1.2.
- Mercury: Autumn grants DP Mult x2; Spring grants Eternity Gain x2.
- Venus: Spring grants Game Speed x1.2; Winter grants DU Power x1.05.
- Moon: Summer grants Unity Rewards ^1.15.
- Mars: Summer grants DP Mult x1.8.
- Jupiter: Winter grants Game Speed x1.1; Autumn grants DU Power x1.03.
Libra on the Sun combines its Autumn Unity reward bonus with useful progression stats. Gemini or Leo can activate the Moon’s Summer Unity reward bonus.
Matching reward bonuses multiply together. That makes planet placement worth checking even when a replacement Zodiac’s individual stats look similar.
Official page: Revolution Idle (store.steampowered.com)
Attack and Score Loadouts
Attack progression supports several different setups. A Water build emphasizes speed and related progression bonuses, while a mixed Score build uses Aquarius, Libra, Leo, and Aries to push higher.
 Image: Steam / Oni Gaming
With all 12 planets available, use these assignments:
| Planet | Early Attack: Full Water | Score: 500+ and IT2 | Pre-Minerals Score: 1400+ Attacks |
|---|---|---|---|
| Sun | Scorpio | Aquarius | Aquarius |
| Mercury | Cancer | Aquarius | Aries |
| Venus | Pisces | Aquarius | Aquarius |
| Moon | Scorpio | Libra | Libra |
| Mars | Cancer | Libra | Aquarius |
| Jupiter | Scorpio | Libra | Libra |
| Saturn | Cancer | Leo | Leo |
| Uranus | Cancer | Aries | Aries |
| Neptune | Scorpio | Leo | Leo |
| Pluto | Pisces | Aries | Aries |
| Chiron | Pisces | Aries | Aries |
| Fortune | Pisces | Aries | Aries |
The full Water setup targets the start of Attacks. The mixed builds target Score and deeper Attack progression; the 1400+ version changes Mercury and Mars while preserving the rest of the earlier Score layout.
If you have been using full Aries, test the mixed Score setup when progress slows. Aquarius and Libra add progression bonuses, while Leo changes the seasonal bonuses on Saturn and Neptune.
Keep equipment strength in the comparison. A carefully placed mixed build still needs competitive Zodiac levels, quality, and relevant stats. Farm stronger replacements before judging a layout built from much weaker pieces.
Separate the two jobs:
- Equip a farming setup when you want stronger Zodiacs.
- Equip a Score setup when you want to push Attack levels.
- Compare gold gains with the dedicated Gold build when farming becomes the priority.
Quality and Game Speed Builds
Pisces is central to Zodiac quality farming. After completing Hard Trial 6, the full Pisces Quality build emphasizes stronger future drops, even at the expense of Zodiac level.
 Image: Steam / Oni Gaming
The Game Speed variant changes only Neptune:
| Planet | Quality Build | Game Speed Build |
|---|---|---|
| Sun | Pisces | Pisces |
| Mercury | Pisces | Pisces |
| Venus | Pisces | Pisces |
| Moon | Pisces | Pisces |
| Mars | Pisces | Pisces |
| Jupiter | Pisces | Pisces |
| Saturn | Pisces | Pisces |
| Uranus | Pisces | Pisces |
| Neptune | Pisces | Scorpio |
| Pluto | Pisces | Pisces |
| Chiron | Pisces | Pisces |
| Fortune | Pisces | Pisces |
Full Pisces supports the quality farming loop: obtain better Pisces, replace weaker pieces, and use the improved setup to farm your next progression set.
Prioritize Pisces with a strong Zodiac Quality bonus. Continue replacing them as better drops arrive, then switch to your Attack build when you are ready to push again.
For Game Speed, place Scorpio on Neptune and keep Pisces everywhere else. This setup also supports Minerals progression. Retain the Quality, Score, and Gold builds for their separate tasks rather than expecting the speed setup to handle every objective equally well.
Gold and Astrodust Farming Builds
Gold farming and Astrodust farming use different equipment priorities. The Gold build combines progression and speed bonuses. The Astrodust build focuses on the value of the Zodiacs you sell while retaining speed.
 Image: Steam / Oni Gaming
Use the Gold setup after Achievement 240:
| Planet | Gold Farm | Astrodust Farm |
|---|---|---|
| Sun | Aquarius | Pisces |
| Mercury | Aquarius | Pisces |
| Venus | Aquarius | Pisces |
| Moon | Libra | Pisces |
| Mars | Scorpio | Pisces |
| Jupiter | Scorpio | Pisces |
| Saturn | Cancer | Pisces |
| Uranus | Aries | Pisces |
| Neptune | Cancer | Pisces |
| Pluto | Aries | Aries |
| Chiron | Aries | Pisces |
| Fortune | Aries | Pisces |
The Gold layout trades some maximum pushing power for faster farming. Compare its gold gains against your Score setup when you are returning to previously reached Attack levels.
The Astrodust layout uses 11 Pisces and one Aries. Aries can occupy another planet because Aries and Pisces share the Spring season; Pluto is the placement shown here.
Higher Zodiac levels and quality increase Astrodust returns when you sacrifice unwanted pieces. Protect useful farming and progression equipment before clearing your inventory.
Zodiac Level and Luck Builds
Before Minerals, keep separate setups for pushing Zodiac level and improving Luck. The Level build supports milestone hunting, including Achievement #188 at level 30, #190 at level 40, and #205 at level 50.
| Planet | Level Build | Luck Build |
|---|---|---|
| Sun | Aquarius | Cancer |
| Mercury | Libra | Pisces |
| Venus | Aquarius | Pisces |
| Moon | Libra | Pisces |
| Mars | Gemini | Pisces |
| Jupiter | Libra | Pisces |
| Saturn | Gemini | Aquarius |
| Uranus | Libra | Pisces |
| Neptune | Gemini | Pisces |
| Pluto | Gemini | Scorpio |
| Chiron | Gemini | Pisces |
| Fortune | Gemini | Pisces |
Use the Level setup when your next target is a Zodiac level milestone. Push the available XP Factors before performing Unity so the next reward benefits from that progression.
Use the Luck setup when rarity farming becomes your objective. Early on, prioritize XP Factor and quality upgrades over investing heavily in Luck. Higher levels provide a direct route to stronger Zodiac stats, while quality remains useful when another level is out of reach.
Avoid treating either specialized setup as your permanent equipment. Switch back to the build that advances your current progression layer after reaching the farming target.
Element Farming Loadouts
Elements require dedicated sets. Fire changes after Ethereal rarity becomes available, while Earth mixes Taurus and Virgo. Wind uses Gemini throughout, and Water combines Cancer, Scorpio, and Pisces.
| Planet | Fire Before Ethereal | Fire With Ethereal | Earth | Wind | Water |
|---|---|---|---|---|---|
| Sun | Sagittarius | Sagittarius | Virgo | Gemini | Cancer |
| Mercury | Aries | Aries | Taurus | Gemini | Pisces |
| Venus | Sagittarius | Sagittarius | Virgo | Gemini | Pisces |
| Moon | Libra | Leo | Virgo | Gemini | Pisces |
| Mars | Aries | Aries | Taurus | Gemini | Pisces |
| Jupiter | Libra | Leo | Virgo | Gemini | Pisces |
| Saturn | Leo | Leo | Taurus | Gemini | Pisces |
| Uranus | Aries | Aries | Virgo | Gemini | Pisces |
| Neptune | Leo | Leo | Taurus | Gemini | Scorpio |
| Pluto | Aries | Aries | Taurus | Gemini | Scorpio |
| Chiron | Aries | Aries | Virgo | Gemini | Pisces |
| Fortune | Aries | Aries | Taurus | Gemini | Pisces |
For Fire, the Ethereal version replaces Libra on the Moon and Jupiter with Leo. Make those changes once Ethereal Zodiacs become available.
The Earth layout needs six Taurus and six Virgo. Keep both signs while assembling the set; the early Unity preference for Fire and Wind does not carry over to Earth Elements farming.
Simpler sets take less inventory work
Single-sign alternatives are available:
- Fire: Full Aries.
- Earth: Full Taurus.
- Wind: Full Gemini is already the main layout.
- Water: Full Pisces.
The simplified Fire, Earth, and Water sets trade efficiency for easier assembly. Compare Elements gain against the mixed layout before settling on the simpler option, especially for Fire.
After equipping an Element set, restart your Macro to rebuild Score for that setup. The later farming cycle follows Water → Fire → Earth → Wind → Water.
While collecting a set, temporarily disable the relevant Auto-Sell filters, keep the required signs, and lock the pieces you need. Restore the filters after protecting the set.
Singularity Water Loadout
For the Water setup in the Singularity tab, use these placements:
- Cancer: Sun, Saturn, and Uranus.
- Scorpio: Venus, Moon, Mars, and Jupiter.
- Pisces: Mercury, Neptune, Pluto, Chiron, and Fortune.
This arrangement differs substantially from the earlier Water Elements layout, so keep the planet assignments separate.
Singular Zodiacs also have their own collection and inventory features. Since the September 11, 2026 v1.076 update, your first 12 Singular Zodiacs are guaranteed to be different, and deletion stays locked until all 12 have been obtained.
Double-click Singular Zodiacs to lock them, and review the rarity and level filters before enabling Auto-Delete.
The November 13, 2026 Particles update added Galactic Common Zodiacs and a Singularity reset preview showing whether the next reset grants a Singular Zodiac. Use that preview when planning the reset.
Upgrade and Protect Your Zodiacs
A finished layout depends on more than matching sign names. Each piece has a level, rarity, quality, and set of bonuses.
Early Zodiacs have two bonuses. Legendary–Mythic rarity provides three, while Godly and higher provides four. Check whether a replacement includes the stat your build needs before swapping it in.
Push levels, then address the next bottleneck
Before a Unity reset, inspect your XP Factors and the resulting Zodiac level. Extend the run when further progression can improve that reward.
Once the Planet Shop is available, sacrifice unwanted Zodiacs for Astrodust. Invest in XP Factor when it helps you reach another level; prioritize quality when the next level remains out of reach. Both higher levels and higher quality also improve Astrodust returns.
Merging matching Zodiac types raises rarity. Use it when you can acquire duplicates quickly enough to support the process, while keeping stronger farming pieces available.
Keep rerolls and inventory management under control
Unity lets you choose one of four Zodiacs and preview the available choices. Rerolls start at 200 Souls, with the cost increasing by 50 per roll.
Avoid repeatedly rerolling once Unity runs become fast enough to generate fresh choices efficiently.
Before enabling Auto-Sell or Auto-Sacrifice, protect your specialized sets. Double-click ordinary Zodiacs to lock them against automatic selling, but remember that manual selling can still remove locked pieces. Keep your quality farmers, progression equipment, and Element sets intact while clearing the rest.
Continue with
 Revolution Idle Animal Guide: Unlock Order and AP TipsUse this Revolution Idle animal guide to plan your unlock order, earn Animal Points, reach key milestones, and complete all 81 animals to unlock Dilation.
More in Systems
See all Systems
Continue exploring
Join the community
Official channels for news, updates and player help: